Free nationwide shipping on all orders over R450.00

Click here to save 10% on your first purchase!

Make a paper autumn hedgehog

Make a paper autumn hedgehog

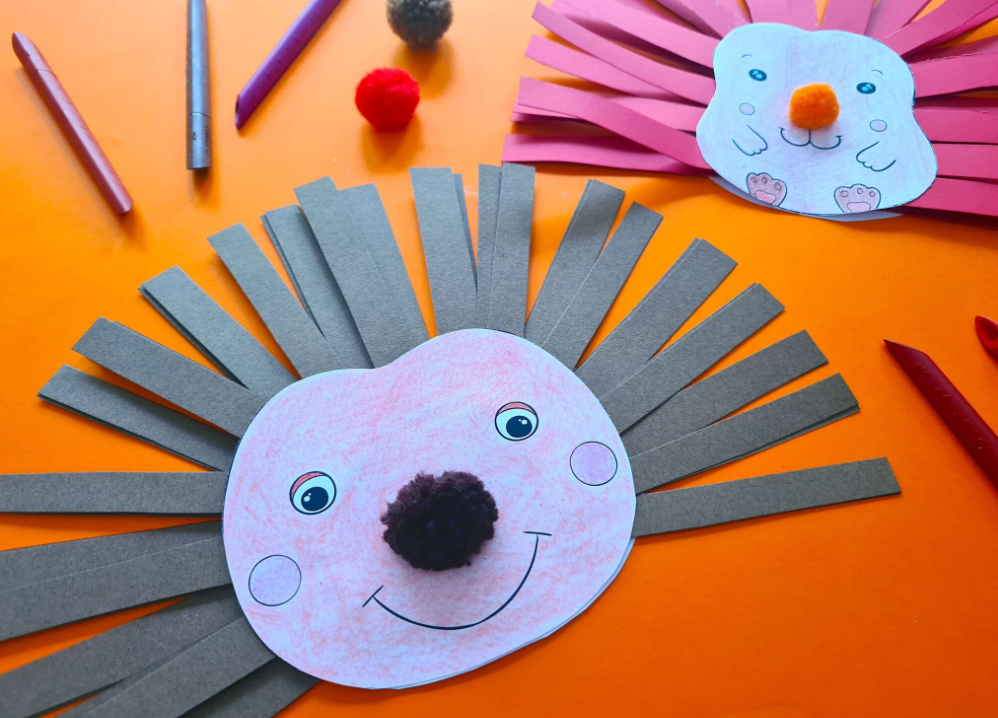
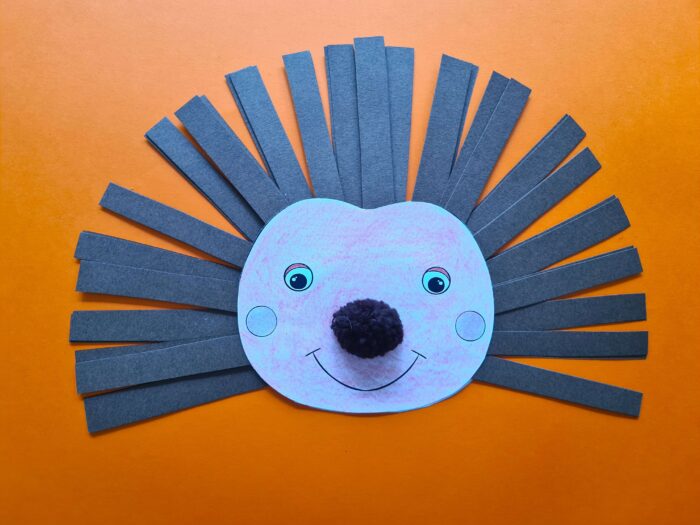
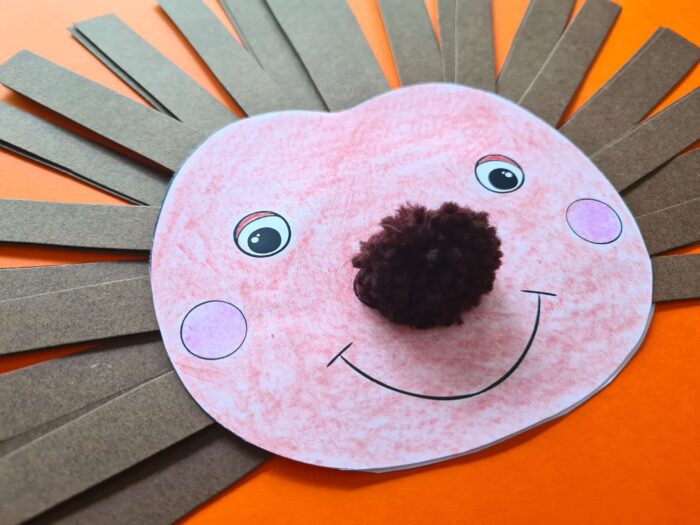
Get ready for autumn with this adorable paper hedgehog craft! Ideal for little hands, it uses simple materials and helps develop cutting and sticking skills. As the leaves start to change, bring the colours of autumn indoors with this charming craft. Imagine your little hedgehog nestled amongst some colourful leaves or sat on a windowsill!

how to make a paper autumn hedgehog

Step 1

Gather the necessary materials and download and print the “Hedgehog” template which will be the head and body of your animal.

autumn hedgehog step 1
Step 2

Colour the hedgehog in the colours of your choice (front and back). And cut it out.

 
autumn hedgehog step 2
Step 3

Fold the coloured sheet in half lengthwise and cut out thin strips of about 1cm.

autumn hedgehog step 3
Step 4

Fold a paper strip, glue it to the back of the hedgehog, and point the fold inwards to make the spine.

autumn hedgehog step 4
Step 5

Fold a paper strip, glue it to the back of the hedgehog, and point the fold inwards to make a spine.

autumn hedgehog step 5
Step 6

Continue adding spines all the way around the hedgehog’s back as shown in the image.

autumn hedgehog step 6
Step 7

Once you’ve gone all the way around, add a second layer of spines to make it extra spiky.

autumn hedgehog step 7
Step 8

Glue the front of the hedgehog onto the back with the spines to finish the body.

autumn hedgehog step 8
Step 9

Glue the pompom on the nose to complete its face.

autumn hedgehog step 9
Step 10

Here’s your very own autumn hedgehog, all finished!

autumn hedgehog step 10

Follow us for more Inspiration

Leave a Reply

Your email address will not be published. Required fields are marked *