Easter is fast approaching so get ready for the Easter egg hunt! Make sure you’re celebrating in style by creating your own Easter table decoration, the perfect hiding place for Easter Treats! Our step by step guide is the perfect family activity to celebrate the arrival of the Easter bunny. Prepare to have a creative afternoon this Easter!
You will need:
Steps
Step 1
Gather your materials. Don’t forget the little chocolate eggs, try not to eat them all before Easter!
Step 2
Empty the eggs by gently breaking them at one end as if you were going to cook them. Rinse them with water and then let them dry.
Step 3
Once the eggs are dry they’re ready to decorate! You could make cute Easter bunnies or chicks or decorate them with colourful patterns. You could use fine liners or felt pens or even paint and glitter!
Step 4
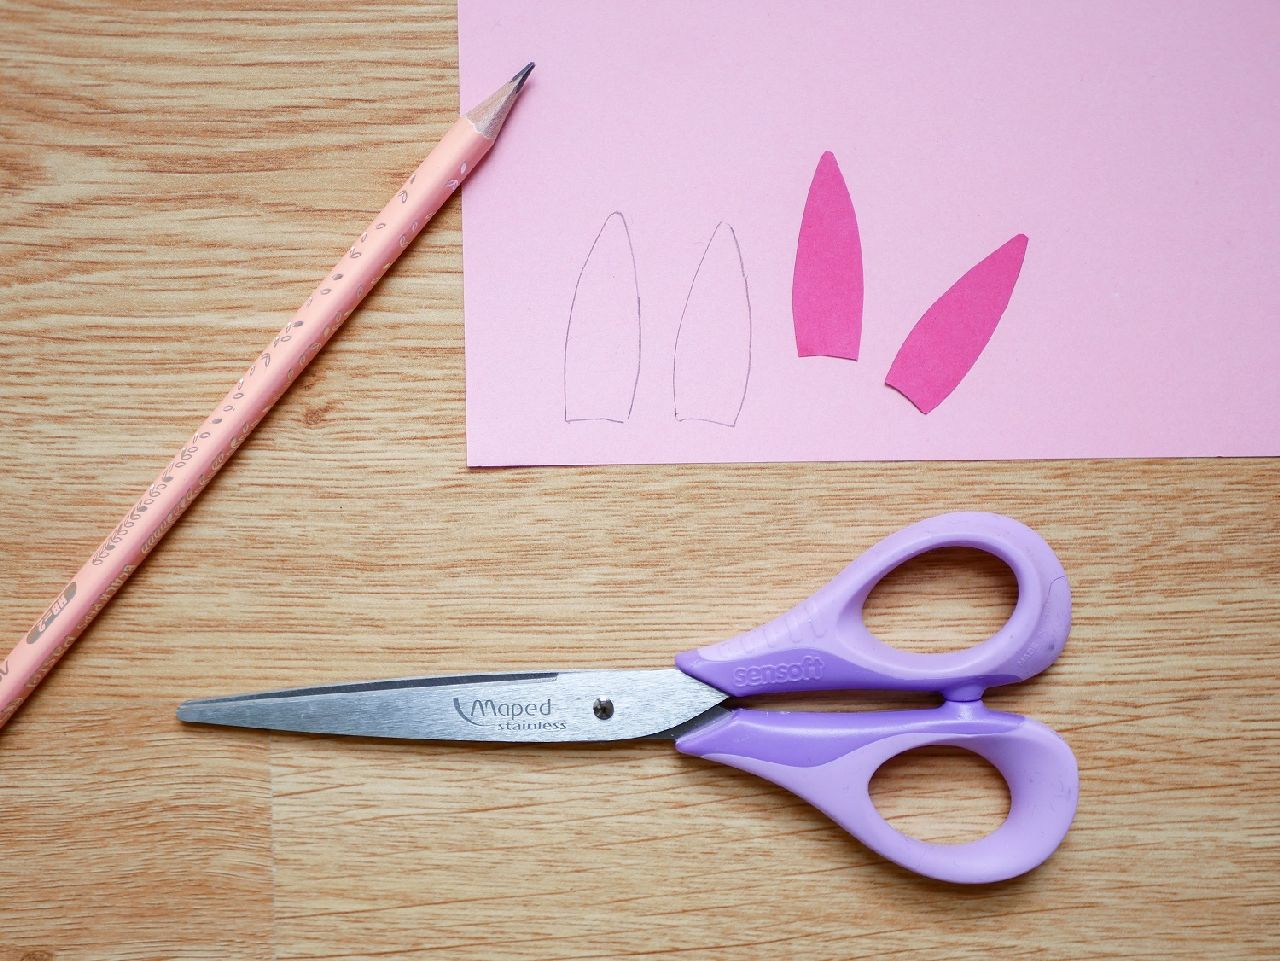
Take a light pink sheet and a dark pink sheet and draw bunny ears on them, one small and one large to layer on top of each other. Glue them together.
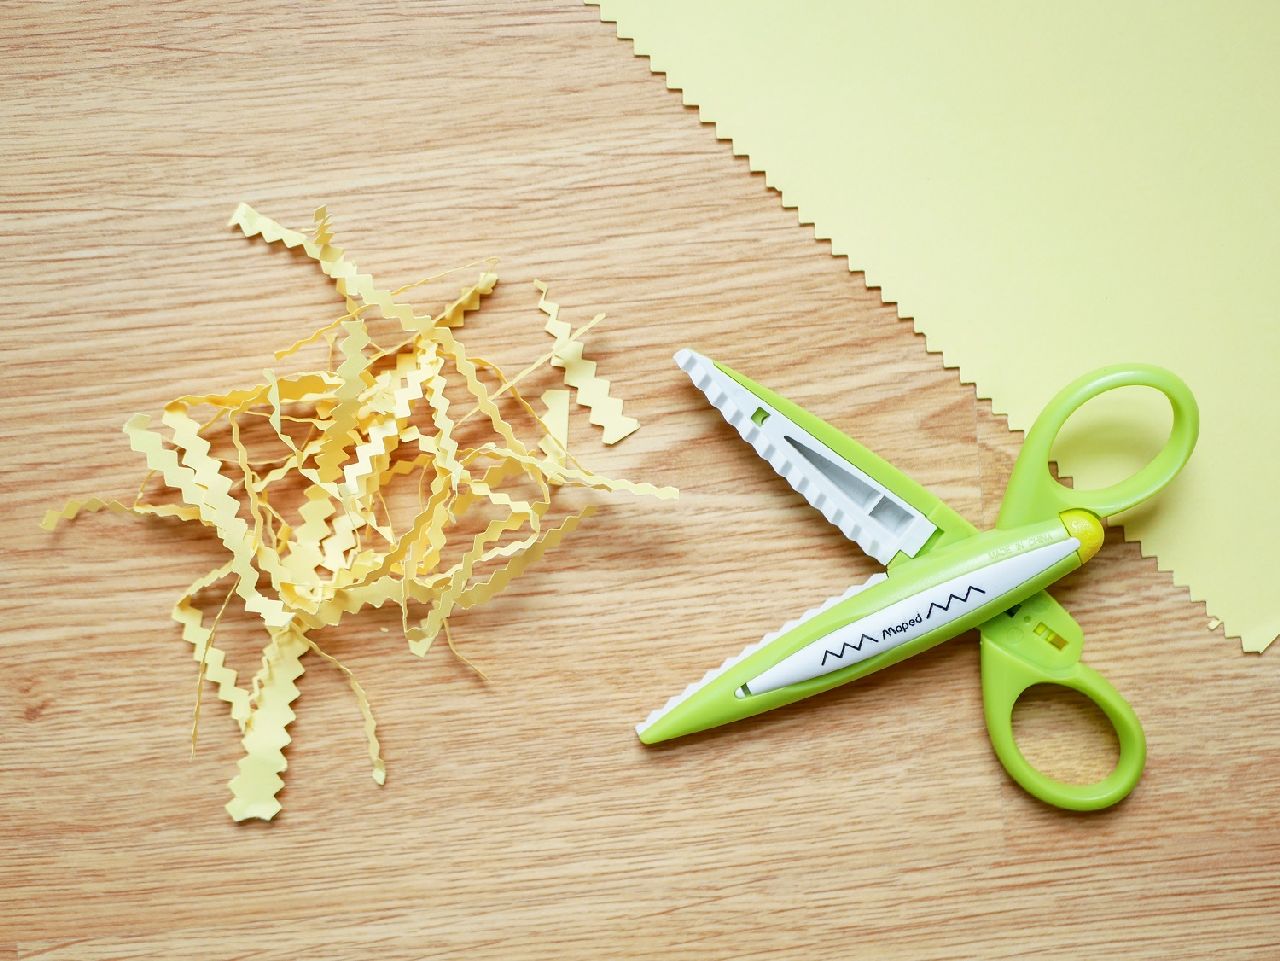
Cut a thin strip of about ten cm on one of the coloured sheets.
Add a dot of glue to the end of the bunny ears, then attach them to the back of the strip. Leave a small space between the 2 ears. Glue the 2 ends of the strip together. Tip: use the egg to measure the correct diameter!
Step 5
Take a sheet of yellow paper and green paper and cut strips with serrated scissors. These strips will serve as straw and grass for decoration. Sprinkle straw and grass over and around the egg carton.
Step 6
Add small chocolate eggs and cute fluffy chicks to finish and your table decoration is ready!