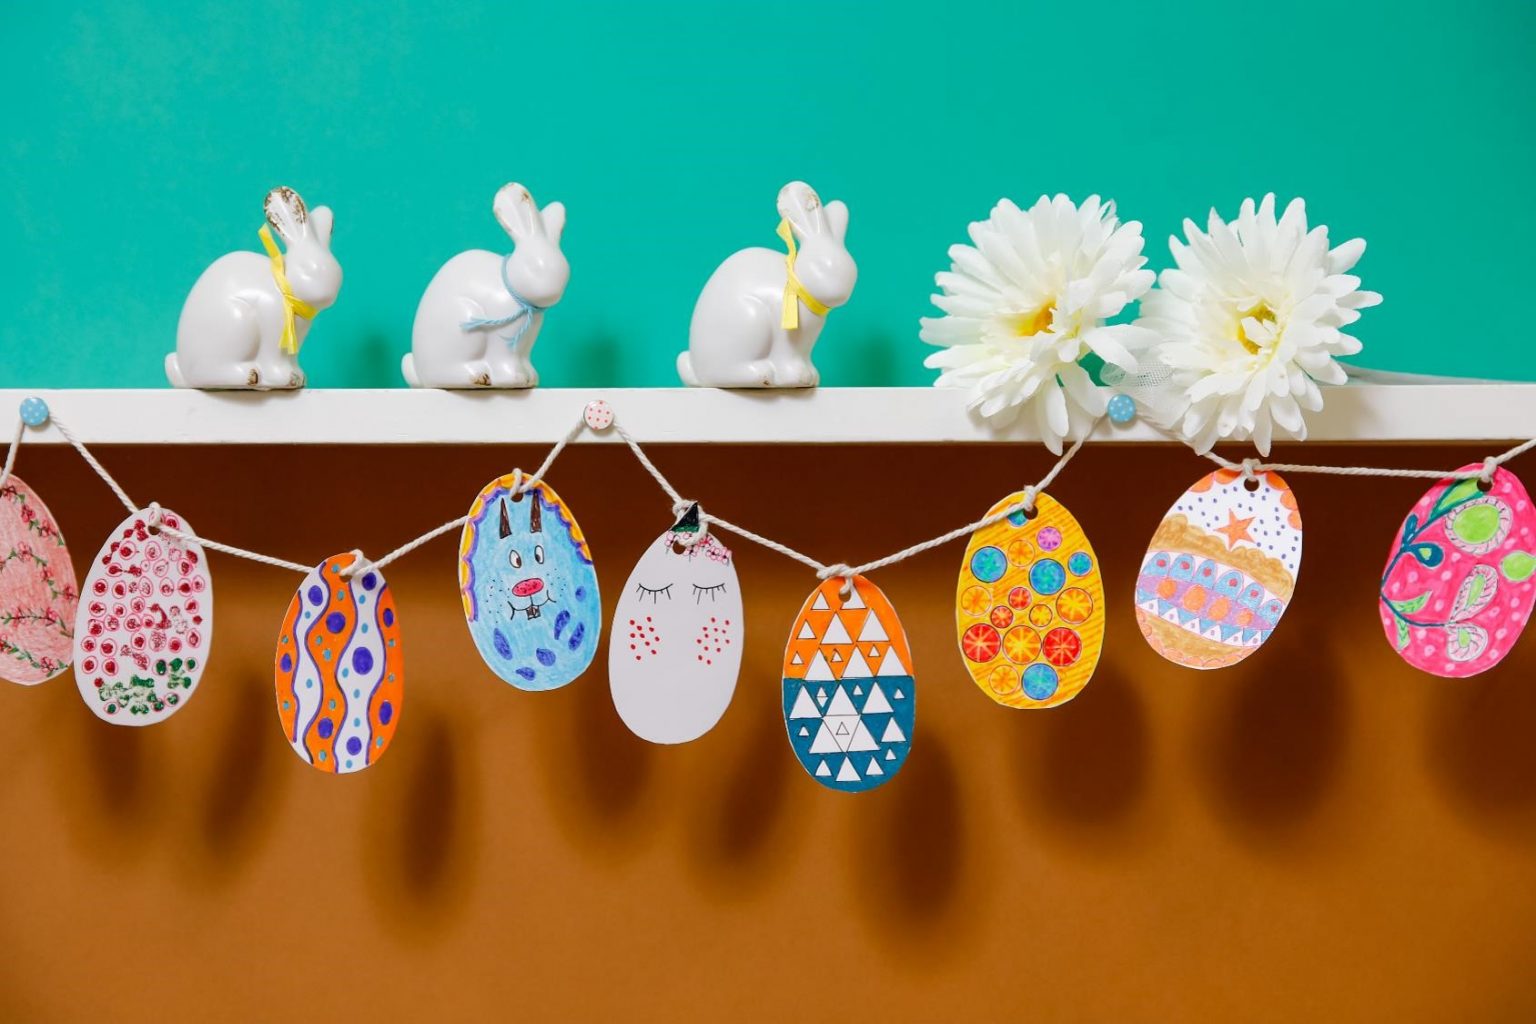
Easter eggs are everywhere in the shops so why not bring the Easter crafts into your home too?! Looking for an Easter craft idea to start the celebrations early? Make a garland of colourful paper eggs to decorate the house or garden with this quick and easy craft activity to do at home with the little ones. 🐣🐰
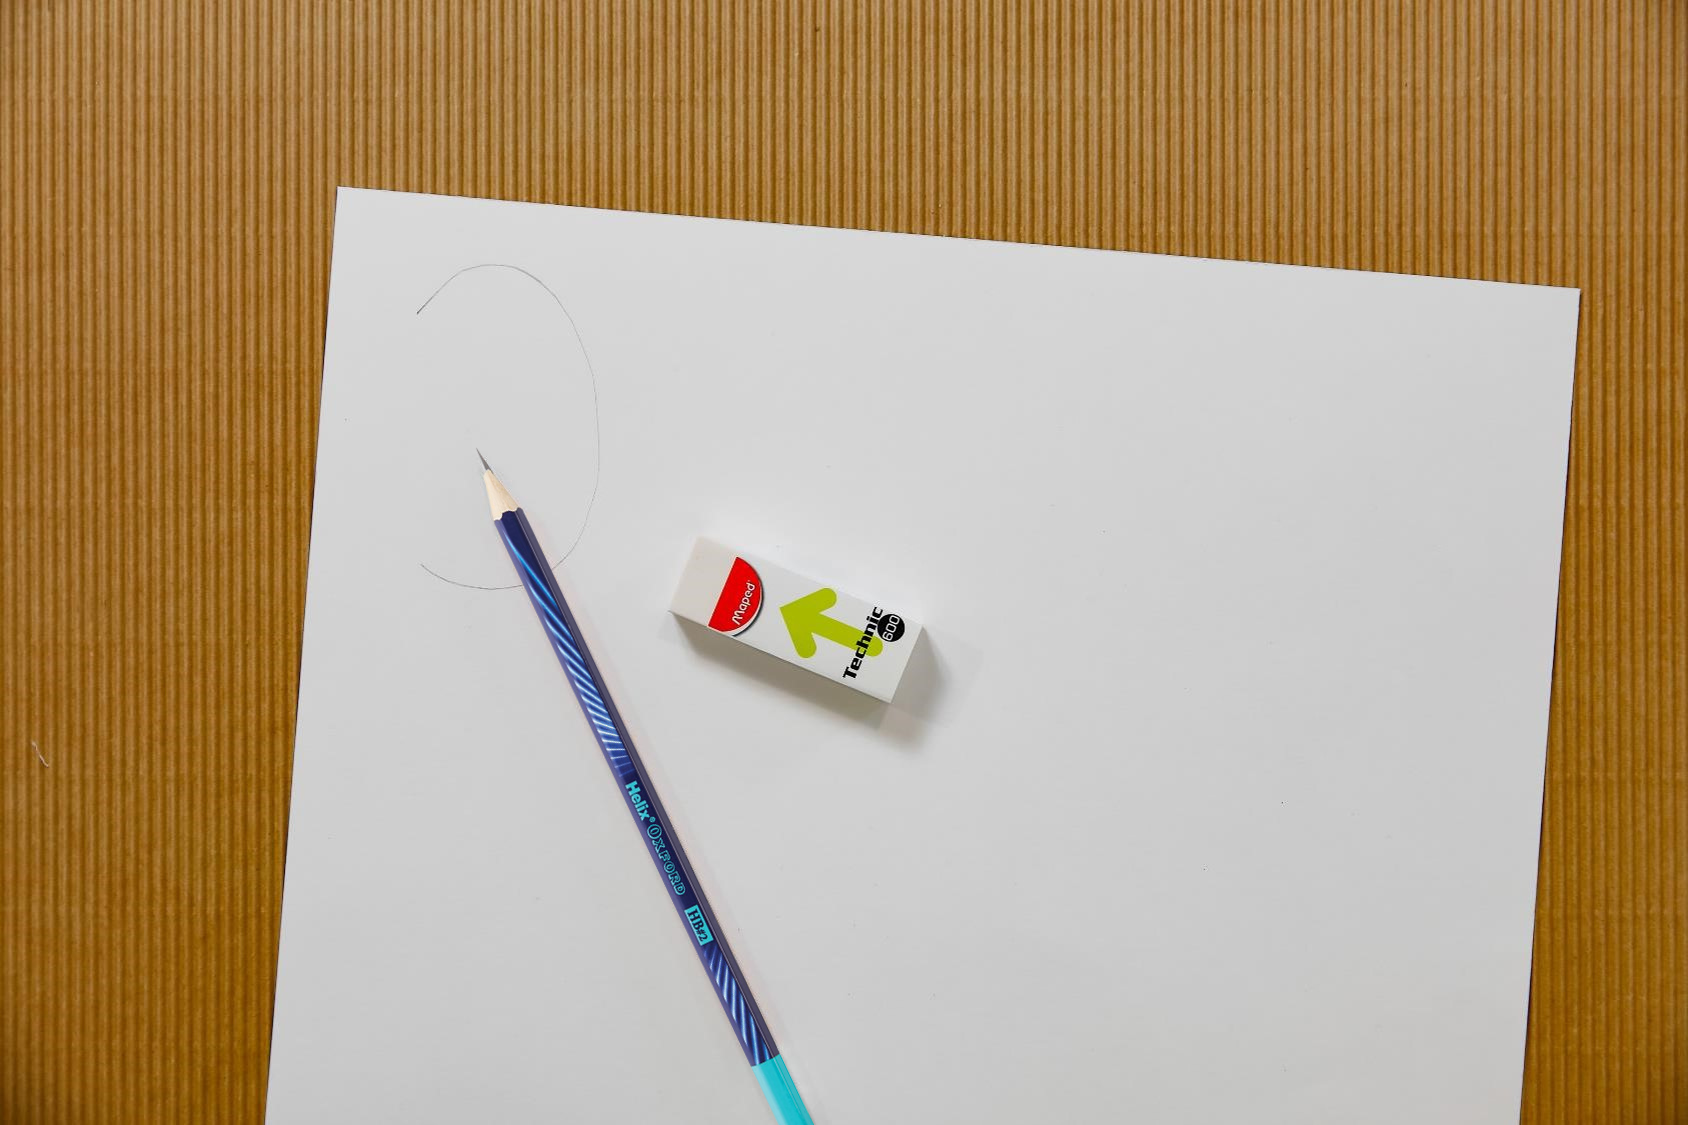
On a white sheet of paper, draw an egg which will serve as a template for drawing the other eggs that make up the Easter garland.
Tip: To trace the perfect egg, why not use a real egg? Gently lay an egg on a sheet and trace the outline with a pencil!
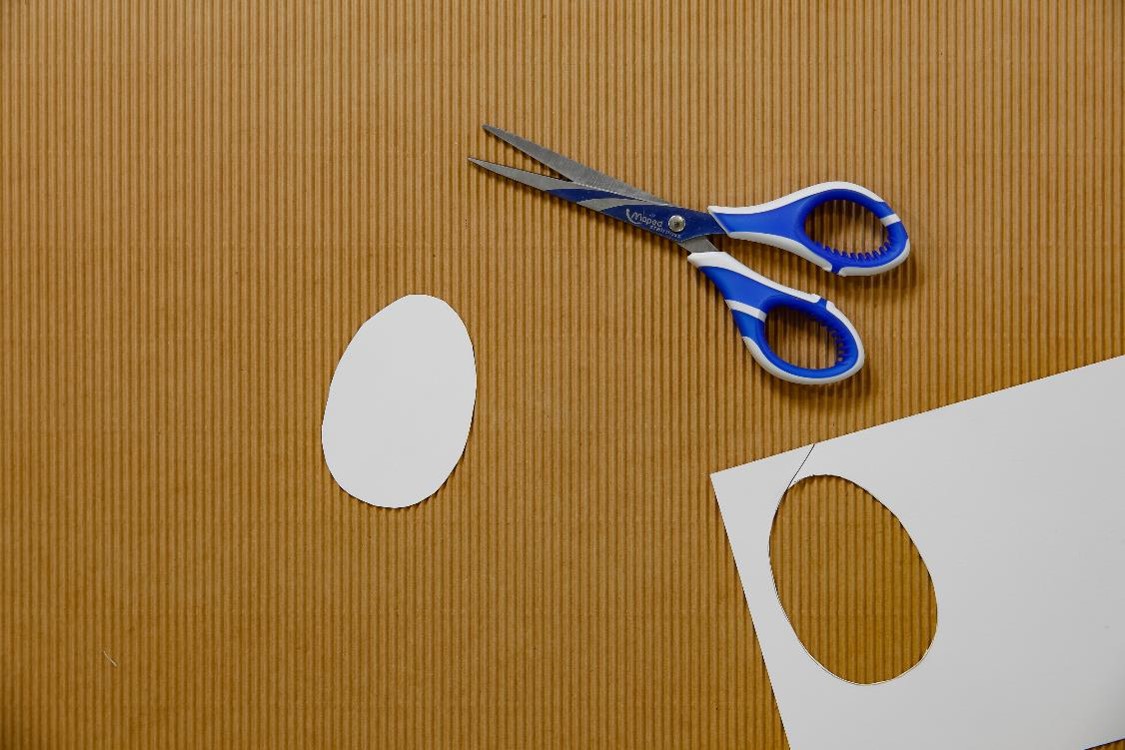
Step 2
With a pair of scissors, cut out the “template” egg.
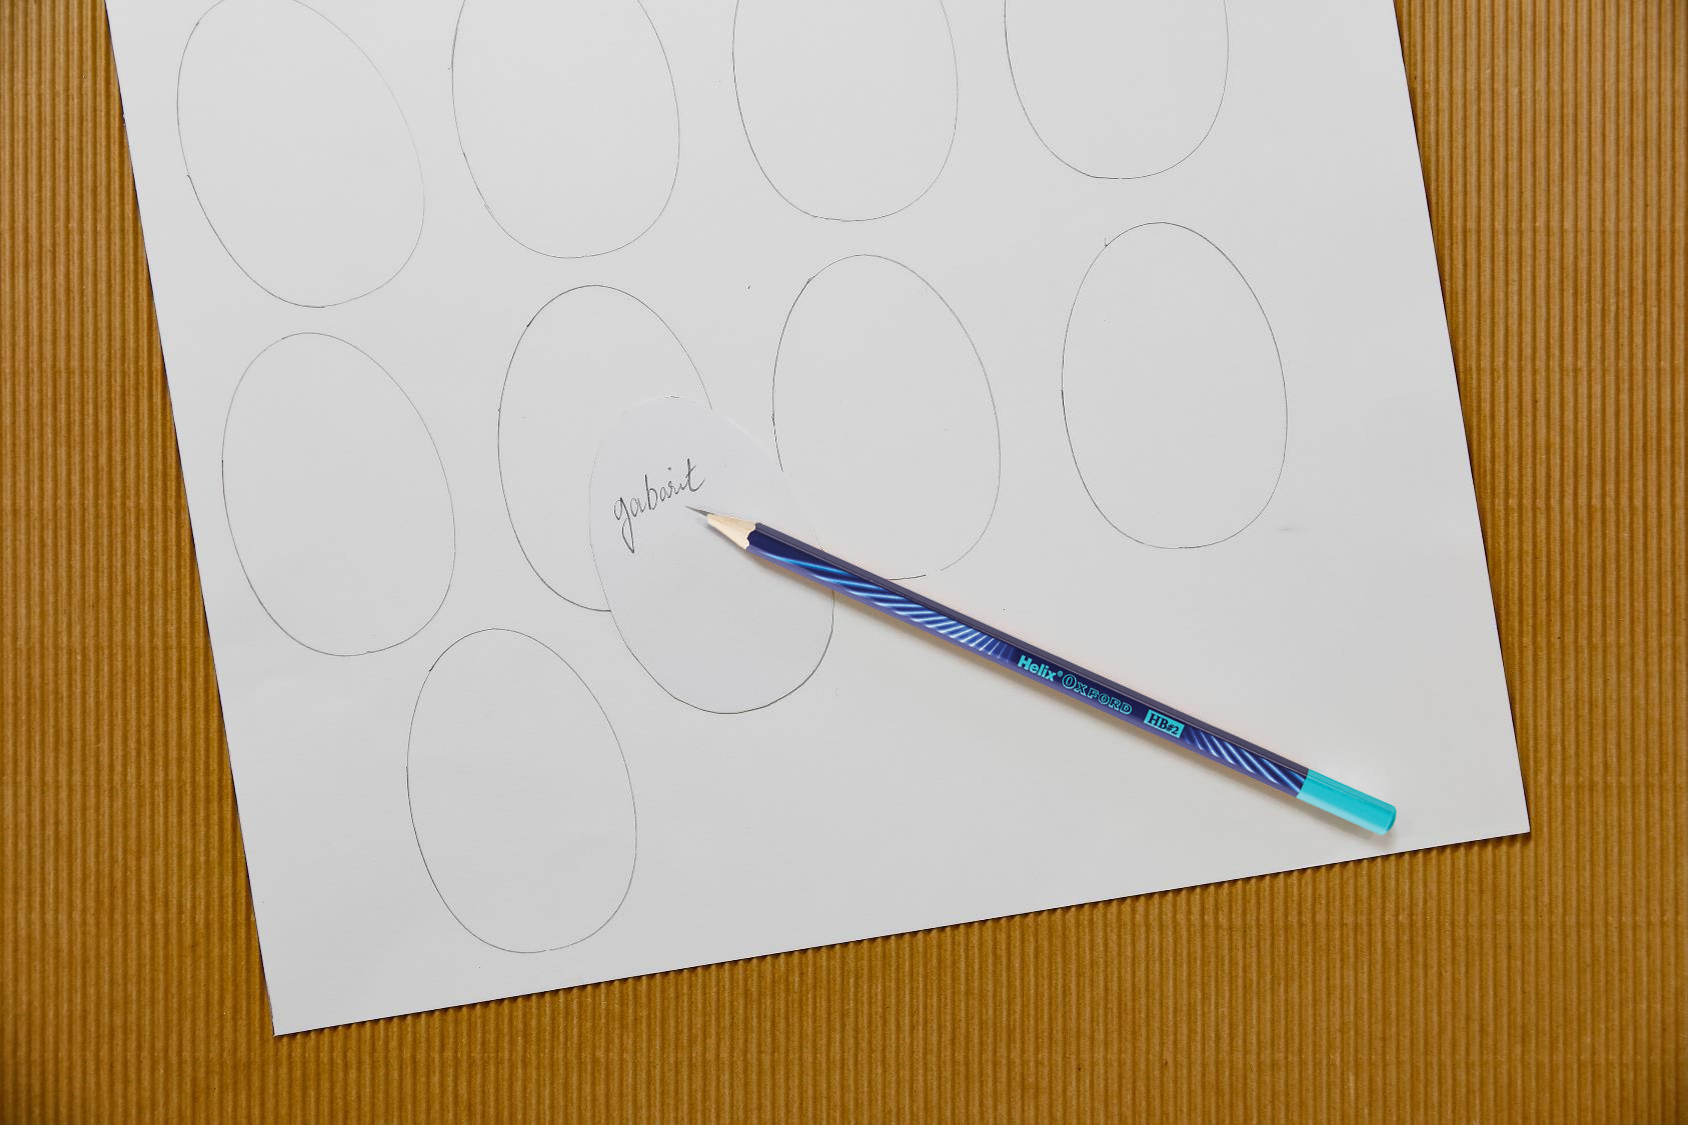
Step 3
On the rest of your white paper, trace another 10 to 20 eggs, depending on how long you would like your garland to be.
To do this, place the cut-out template on the paper and simply trace its outline.
Tip: try to draw the eggs as close together as possible (while still leaving enough room to cut). This avoids wasting paper.
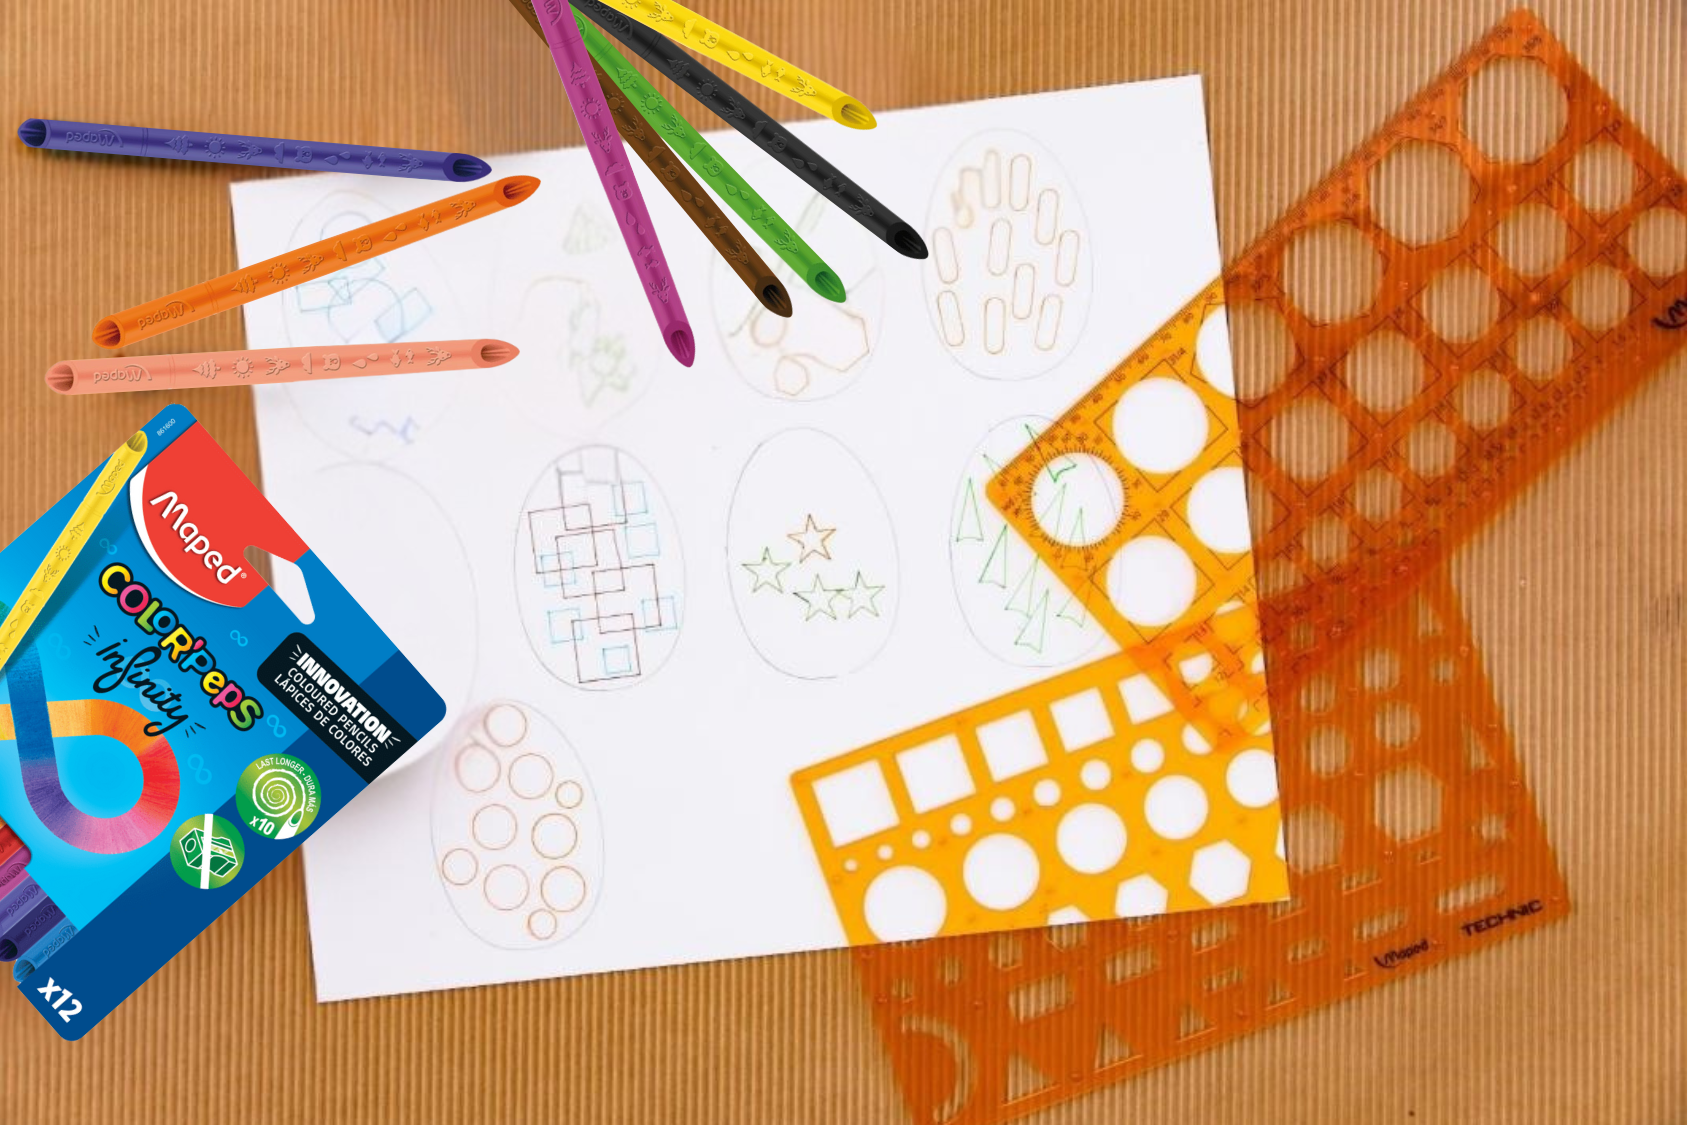
Step 4
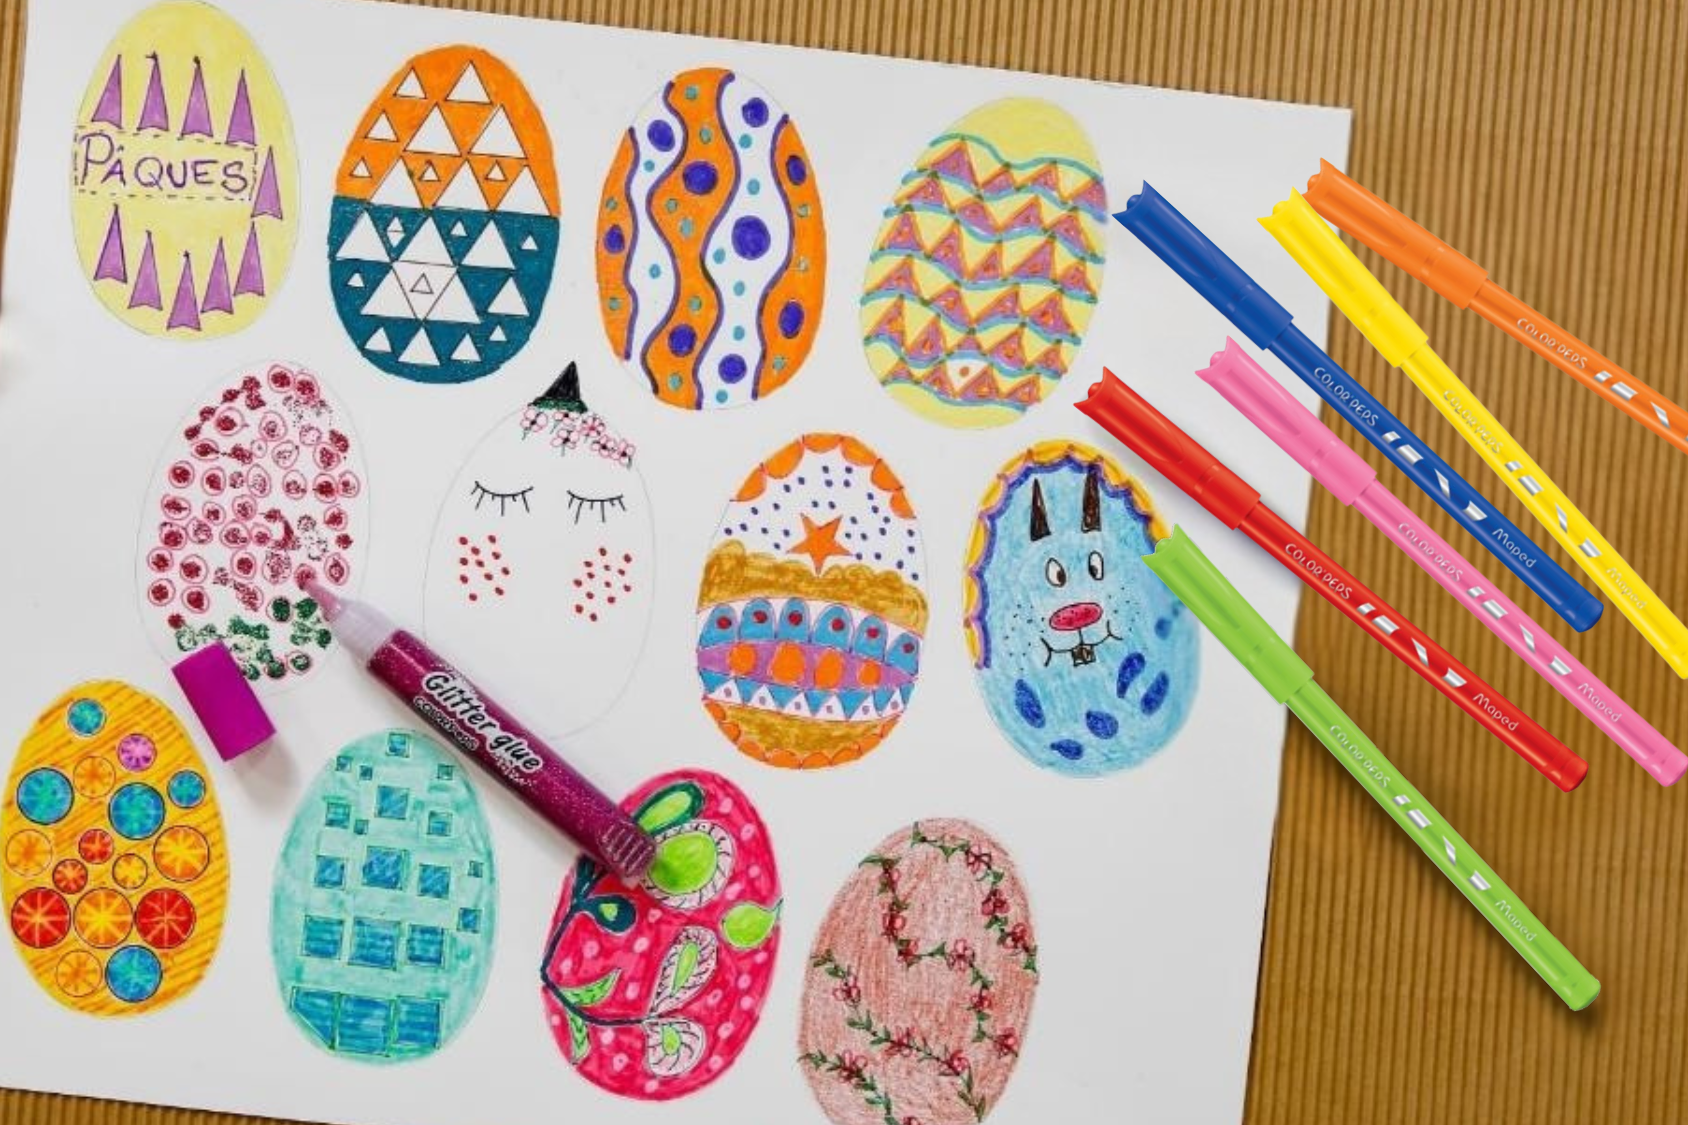
Now that all your eggs are drawn, it’s time to decorate them!Using a pencil or fine liners draw your designs on to the eggs.
We have used templates to draw geometric designs but you can decorate them however you like!
Step 5
Now you can move on to colouring!
You can use felt pens or colouring pencils or even paint! For a special effect, why not try Color’Peps Magic pens, which allows you to change the colour of the ink to create patterns.
Step 6
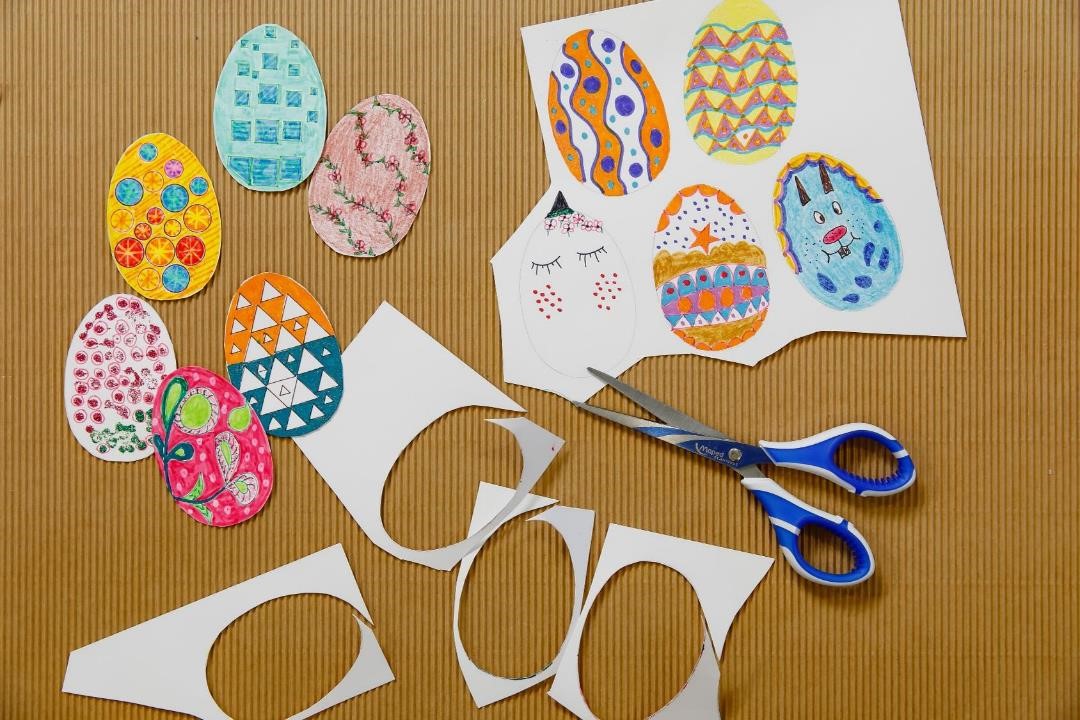
Once all of your eggs are decorated you can cut them out!
Step 7
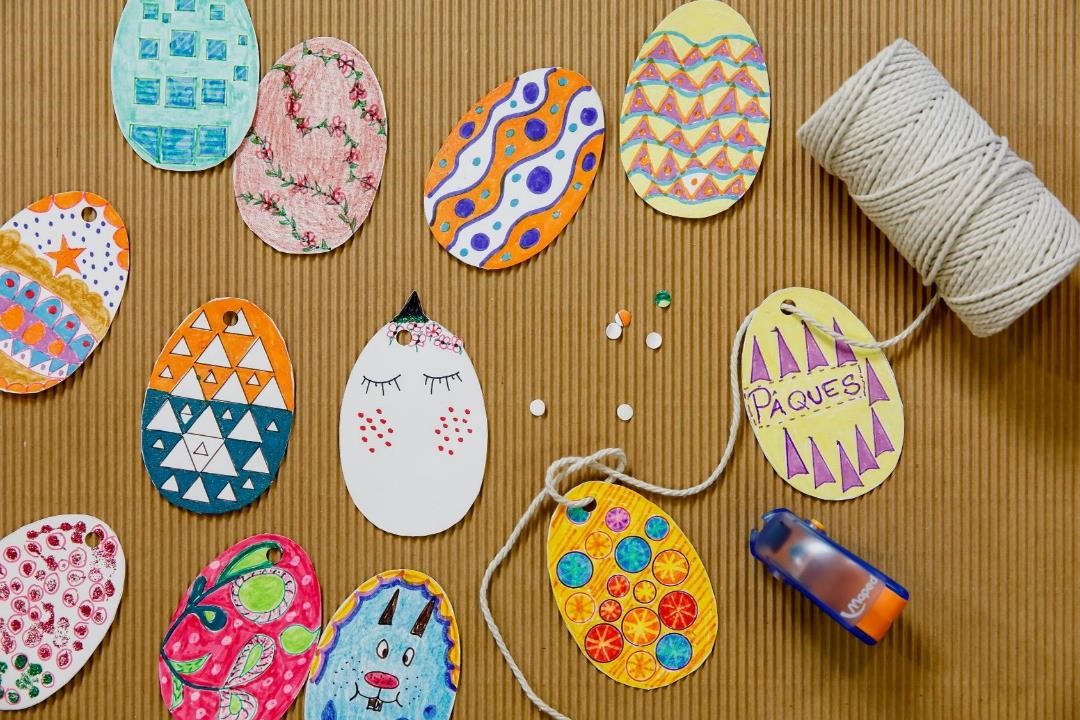
Using a hole punch, punch a hole in the top of each egg.
Then pass the string through the hole and tie a knot loosely so as not to damage the egg. Repeat the step around every 8 -10cm.
Step 8
Well done! You have made a wonderful Easter decoration.